1. Make your pattern. Measure your waist radius and the length of your skirt. For the radius, a little geometry is required but it's a simple formula.
Radius = Waist length + 2 inches ÷ 6.28
I added 2 inches to the waist length just to be on the safe side. In that way I am 100% sure the skirt fits me. For this tutorial let's say your radius is 5 inches.
To make 1/4 of the circle pattern, get a piece of tracing paper, manila paper, newspapers, whatever you have. On the bottom right corner of the paper, measure 5 inches towards the top. Draw the same 5 inch line towards the left side of the paper or until you can draw 1/4 of a circle like this:

Next, cut the blue portion like in the drawing above.
Decide how long your skirt should be. Add an additional inch for the hemming. At the edge of the circle you just made, measure and draw another line for the length of the skirt. Draw the same lines towards the other end of the paper so you have something like this:

And now you have your pattern!
Decide how long your skirt should be. Add an additional inch for the hemming. At the edge of the circle you just made, measure and draw another line for the length of the skirt. Draw the same lines towards the other end of the paper so you have something like this:
And now you have your pattern!
 |
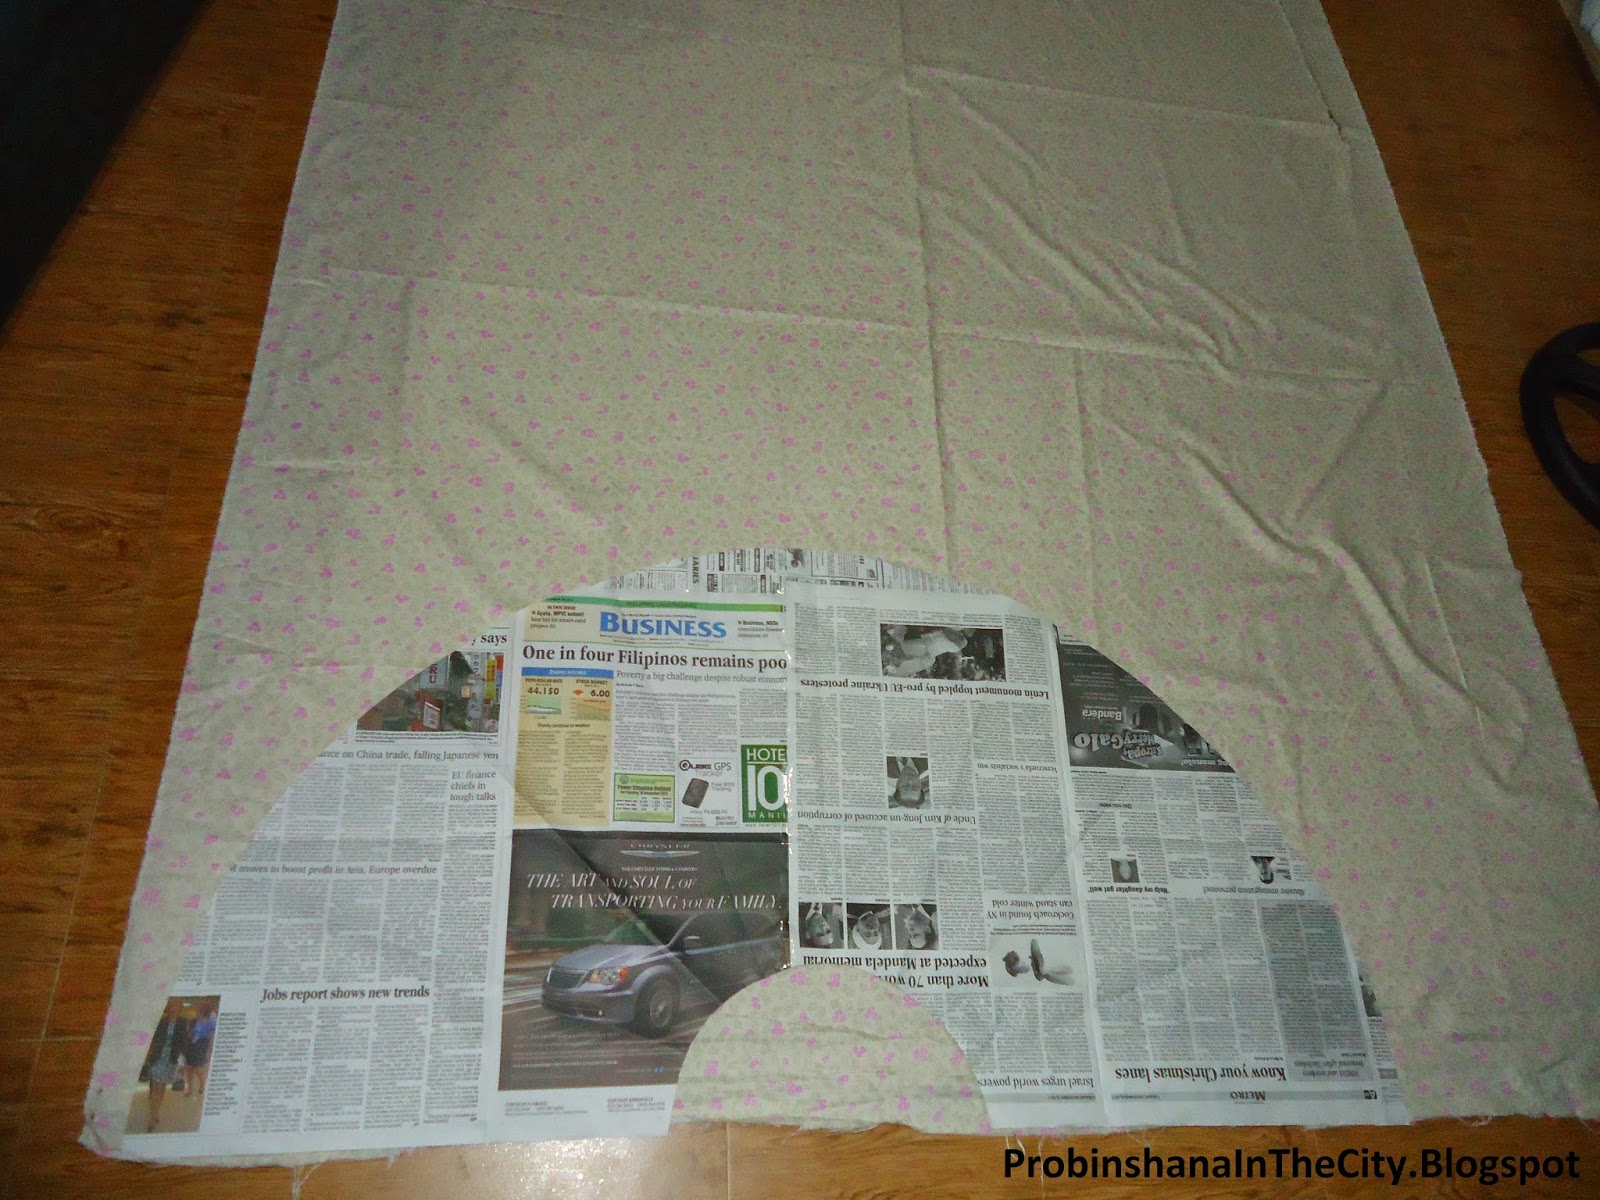
| I made two of these so that I have a half circle. |

3. Sew the sides together.

4. Finish the top of the skirt. Zigzag the edges so the fabric doesn't fray after washing.

5. Pin the elastic band, or "garter" as we fondly call it in the Phils., to the skirt. I like pinning mine to the middle of the back of the skirt first. Flip the skirt and pin to the middle front, the two sides and the gaps in between so now I have eight pins in all. You can pin as much or as little as you like I just prefer it this way.

6. Sew the elastic band. Use both hands in pulling the front and back of the elastic band as you sew.

7. When you're done, it should look like this on the inside.

8. Hem the skirt by trimming it to make it even. You can simply roll it (very small hem so it bounces) and sew so it doesn't fray. OR you can add bias to prettify it like I did. I know I did not sew the bias properly. I did the cheat way. Anyho no one's going to notice it, unless they're reading this.

9. The bottom of the skirt should look like this:

10. There you go! Your very own circle skirt!

Happy sewing!


